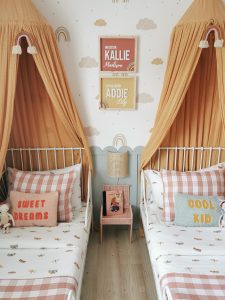
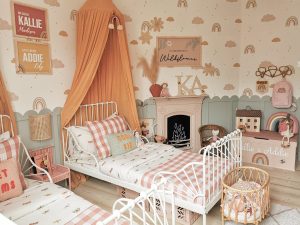
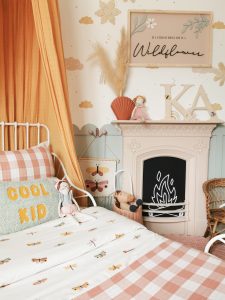
Our Daughter’s starting with a room each, through time they began asking to sleep in each others room. We trialled it and it went well so we decided to re do the room but as a joint room. This was so it felt like it was both of theirs and not just Addie sleeping in Kallie’s room.
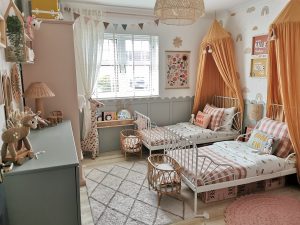
The room, although not the smallest but it has a very awkward layout. one wall had the radiator, the other a window, the other had wardrobe doors, a diagonal wall and then the last wall has the door to enter.
We played around with ideas with bunk beds but after a short time of having the Ikea Kura bed, the girls started to really not enjoy the whole bunk bed concept.
Our son who is in the room behind the girls has the biggest room in the house, It wasn’t a option to move him as his whole bed and desk is built into his room so we really needed to think how to get a bigger room for the girls.
We took the plunge and ripped down both integrated wardrobes from both rooms and use this space in the girls room. Some may say this was a silly move but in all honesty I just don’t find built in wardrobes the best use of space.
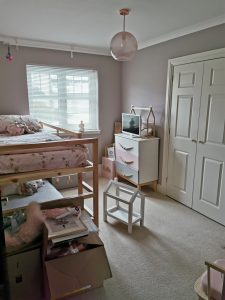
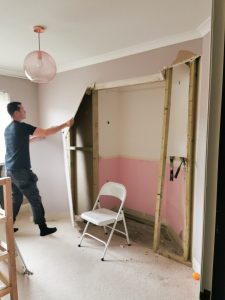
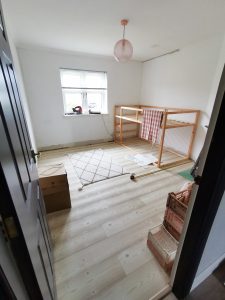
The beds became quite a important decision, we knew adding 2 singles into the room would make very little room for anything else and the girls still didn’t want to keep bunk beds.
I had always loved the Ikea Minnen beds, we played around with sizes and we knew our daughter still had years left to fit in the Minnen on the 165cm setting.
Although we were set on beds but it was lockdown so it was time to move on to the next part of the room.
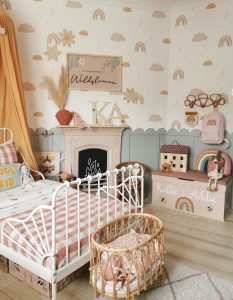
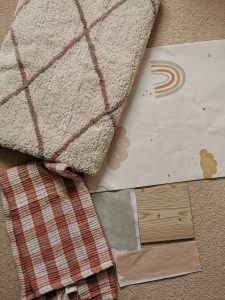
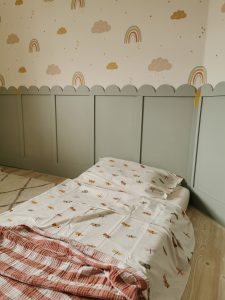
One of the very first things we picked for the girls room was the Hibou rainbow wallpaper, I always feel its important when decorating a room that you find something you love and work everything from it. The sample arrived and the next job was to match colours – Farrow and Ball Light Blue, Setting Plaster, Red earth and Sudbury Yellow were perfect!
I loved the idea of not using pink on the walls, although my 7 year old was still quite young and girly, I really wanted the room to have a less ‘babyish’ feel.
I knew I wanted as close to natural floorboard type flooring as possible, I found this laminate from Quickstep (Ultra pine laminate) It Is a textured laminate and It is such amazing quality,
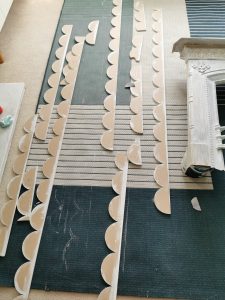
I knew I wanted scallops, but I also loved panelling. So I sat down and designed some scallop panelling. We used a Ikea kids bowl for the scallop template and used a jigsaw to cut all the scallops (mega time consuming but so worth it!)
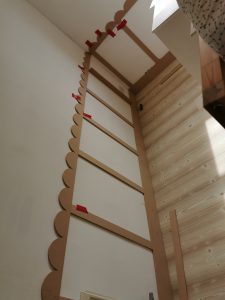
Once we had the panelling in place we took it back down to prime it. This was so we were able to sand all the edges to give a nice finish. We then painted the top edges of the scallops in the ‘Light blue’. This was to make it easier to paint once it was attached to the wall.
The next stage was to attach to the wall. We pinned them with some small pin nails along with some adhesive.
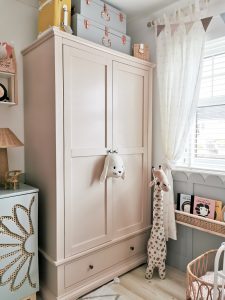
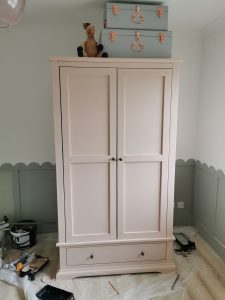
I searched Facebook marketplace for a wardrobe to upcycle. I managed to get this one for £100. I lightly sanded with 500grit, I then did 2 coats of BIN primer with a foam roller. To top coat I used Farrow and Ball eggshell in Setting plaster.
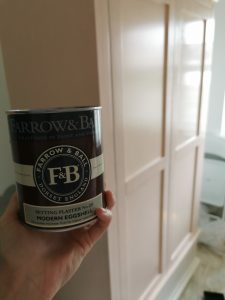
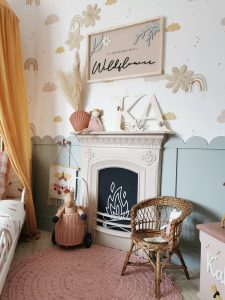
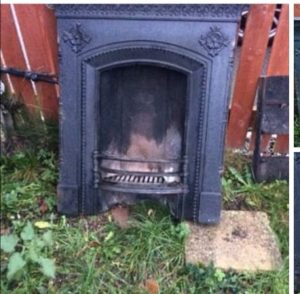
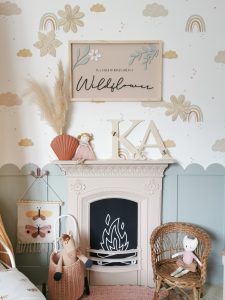
I really wanted the room to feel like a classic little girls room with a modern twist. We live in a fairly modern house so having a fire in the room would mean getting a little bit creative. We managed to get hold of a old cast iron fire surround after months of searching. We cleaned it all up and removed the back from it. We then painted it in Farrow and Ball Setting Plaster to match in with the wardrobe.
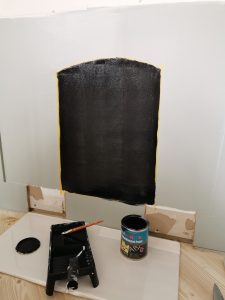
I marked out the area on the wall and painted it back (this would be the fire backing)
Once the fire was in place I used my vinyl cutter to cut out a fire silhouette in white vinyl and applied it to the wall.
We searched and searched for the best clothes storage for the girls, we knew kallax boxes would work better than drawers but we just didn’t have the wall space for a 8×2 kallax. I also just felt like this wall needed something with a statement.
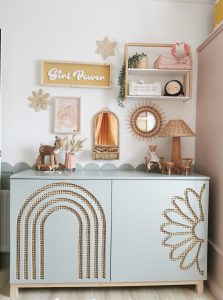
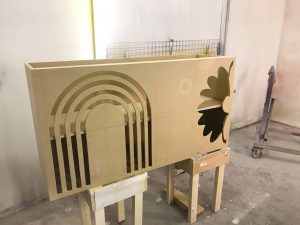
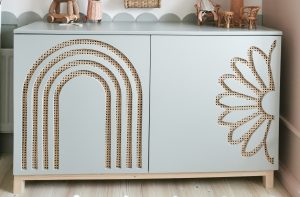
There was so much cane furniture available but not in the UK. I then decided that we could take the concept of a cube storage unit but create unique and child like doors.
We started the build using 18mm MDF for the framework. We created legs and a bottom frame for support from pine softwood.
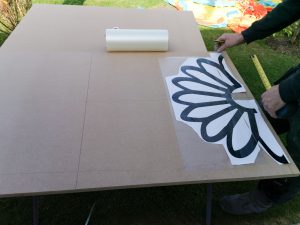
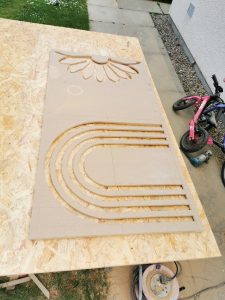
We cut vinyl stencils of the daisy and rainbow and using a jigsaw we cut them out. We then used a router to make the cut out to allow for the cane to be added to the back of the doors.
We painted it in ‘light blue’ to match the panelling and made sure the height of the unit would allow the scallops on the wall to still be seen.
Browsing online can be time consuming but It is something that I took the time to get right with the girls room. Finding accessories in the right colours took time and patience but as the colours became popular the easier this became.
H&M kids home decor accessories is no secret that this is my favourite place to shop, with their cute little accessories without the price tag of a lot of other places.
I waited for the Zara sale and managed to pick up little bits including the little cane lamp.
I used Scandiborn for the bed canopies and little accessories.
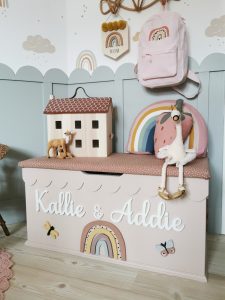
The last but not least I created the girls their very own toy box to compliment their room. Its the ideal storage for all their cuddly soft toys.